Complete Guides
Company & News
Shipping to College
College Storage for Parents
College Move-In & Move-Out
College Packing List
Dorm Storage & Organization
College Summer Storage
Dorm Room Essentials
Sports
Personal
Lifestyle
College Life
Health and Wellness
Entreprenership
Food
Business
How to Build a DIY Wooden Crate for College Storage
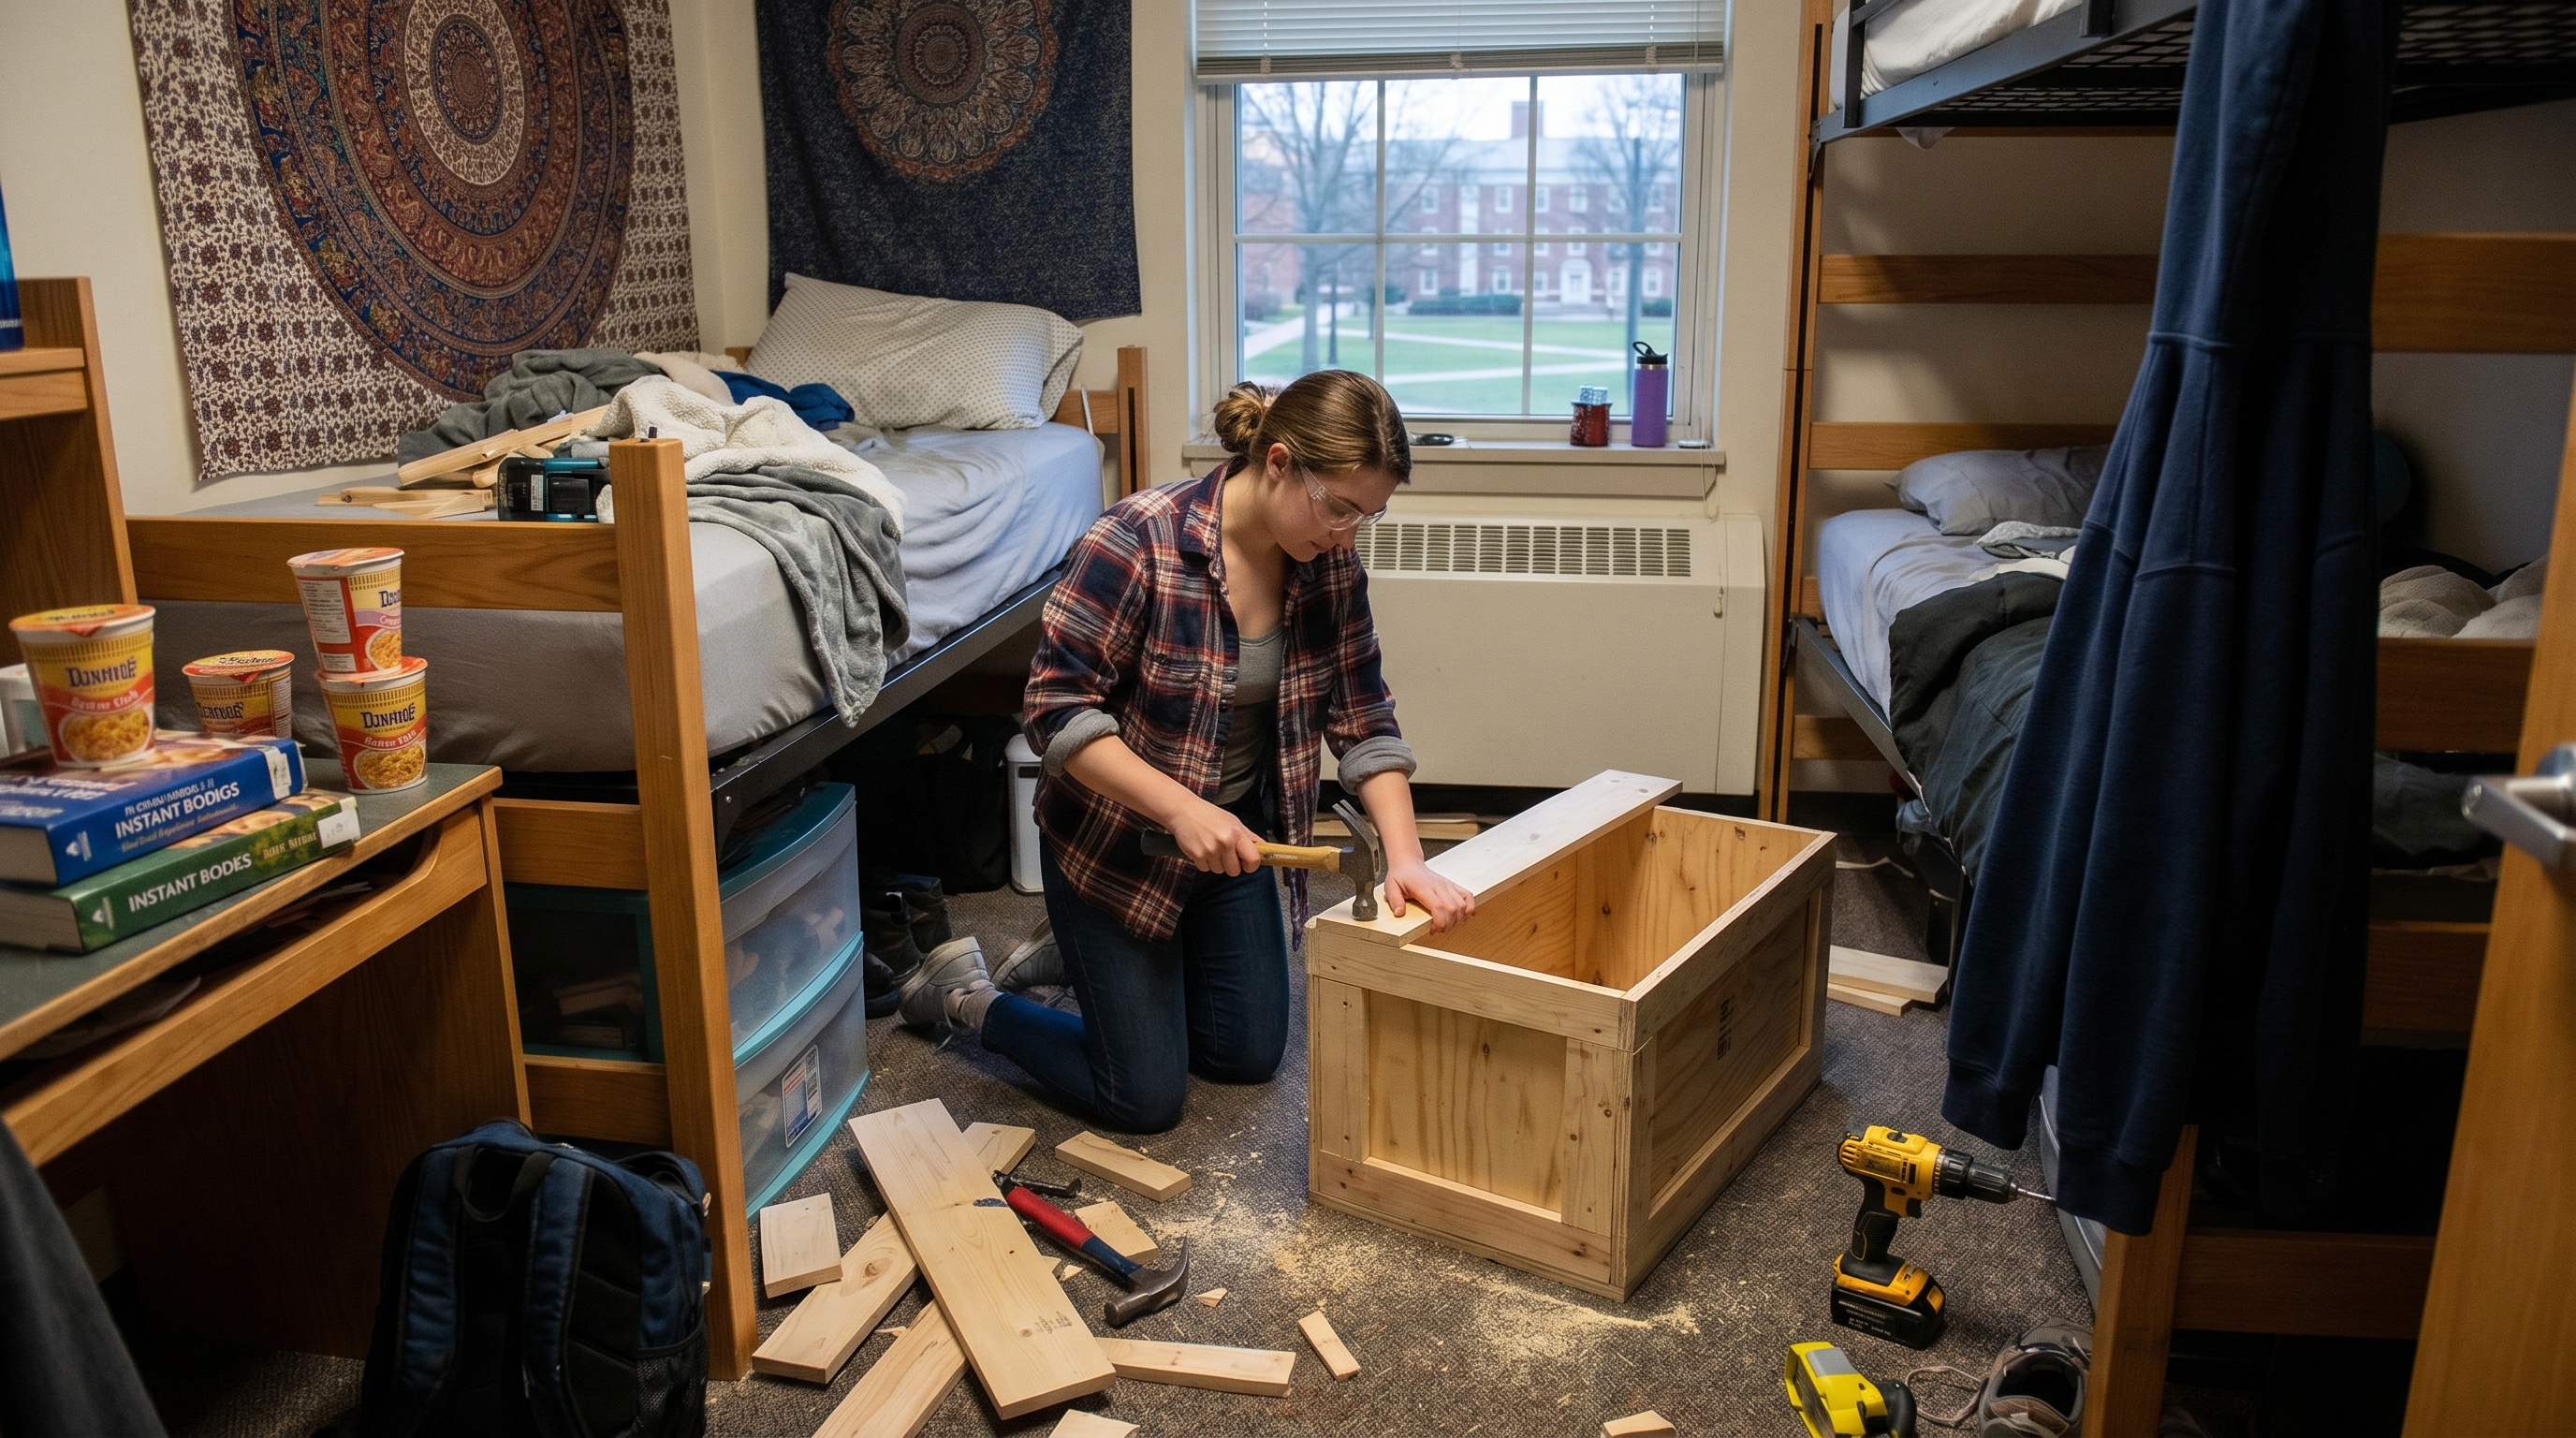
Building your own wooden crate is one of the smartest storage solutions for college life. Whether you’re dealing with a cramped dorm room or need extra organization for move-out day, a custom wooden crate gives you exactly the storage space you need while adding that rustic charm everyone loves.
Bottom line: You can build a functional 30” x 18” wooden crate using just two pallets and basic tools, creating versatile storage that works perfectly for everything from textbooks to winter clothes during summer break.
This project takes about 4-6 hours and costs under $50 when you use recycled pallets. The best part? You can customize the size to fit your specific dorm storage needs, and it’s sturdy enough to handle multiple moves between semesters. For students who need comprehensive storage solutions during summer breaks or semester transitions, this DIY approach complements professional services that handle larger items and full-room storage needs.
Gathering your materials and tools
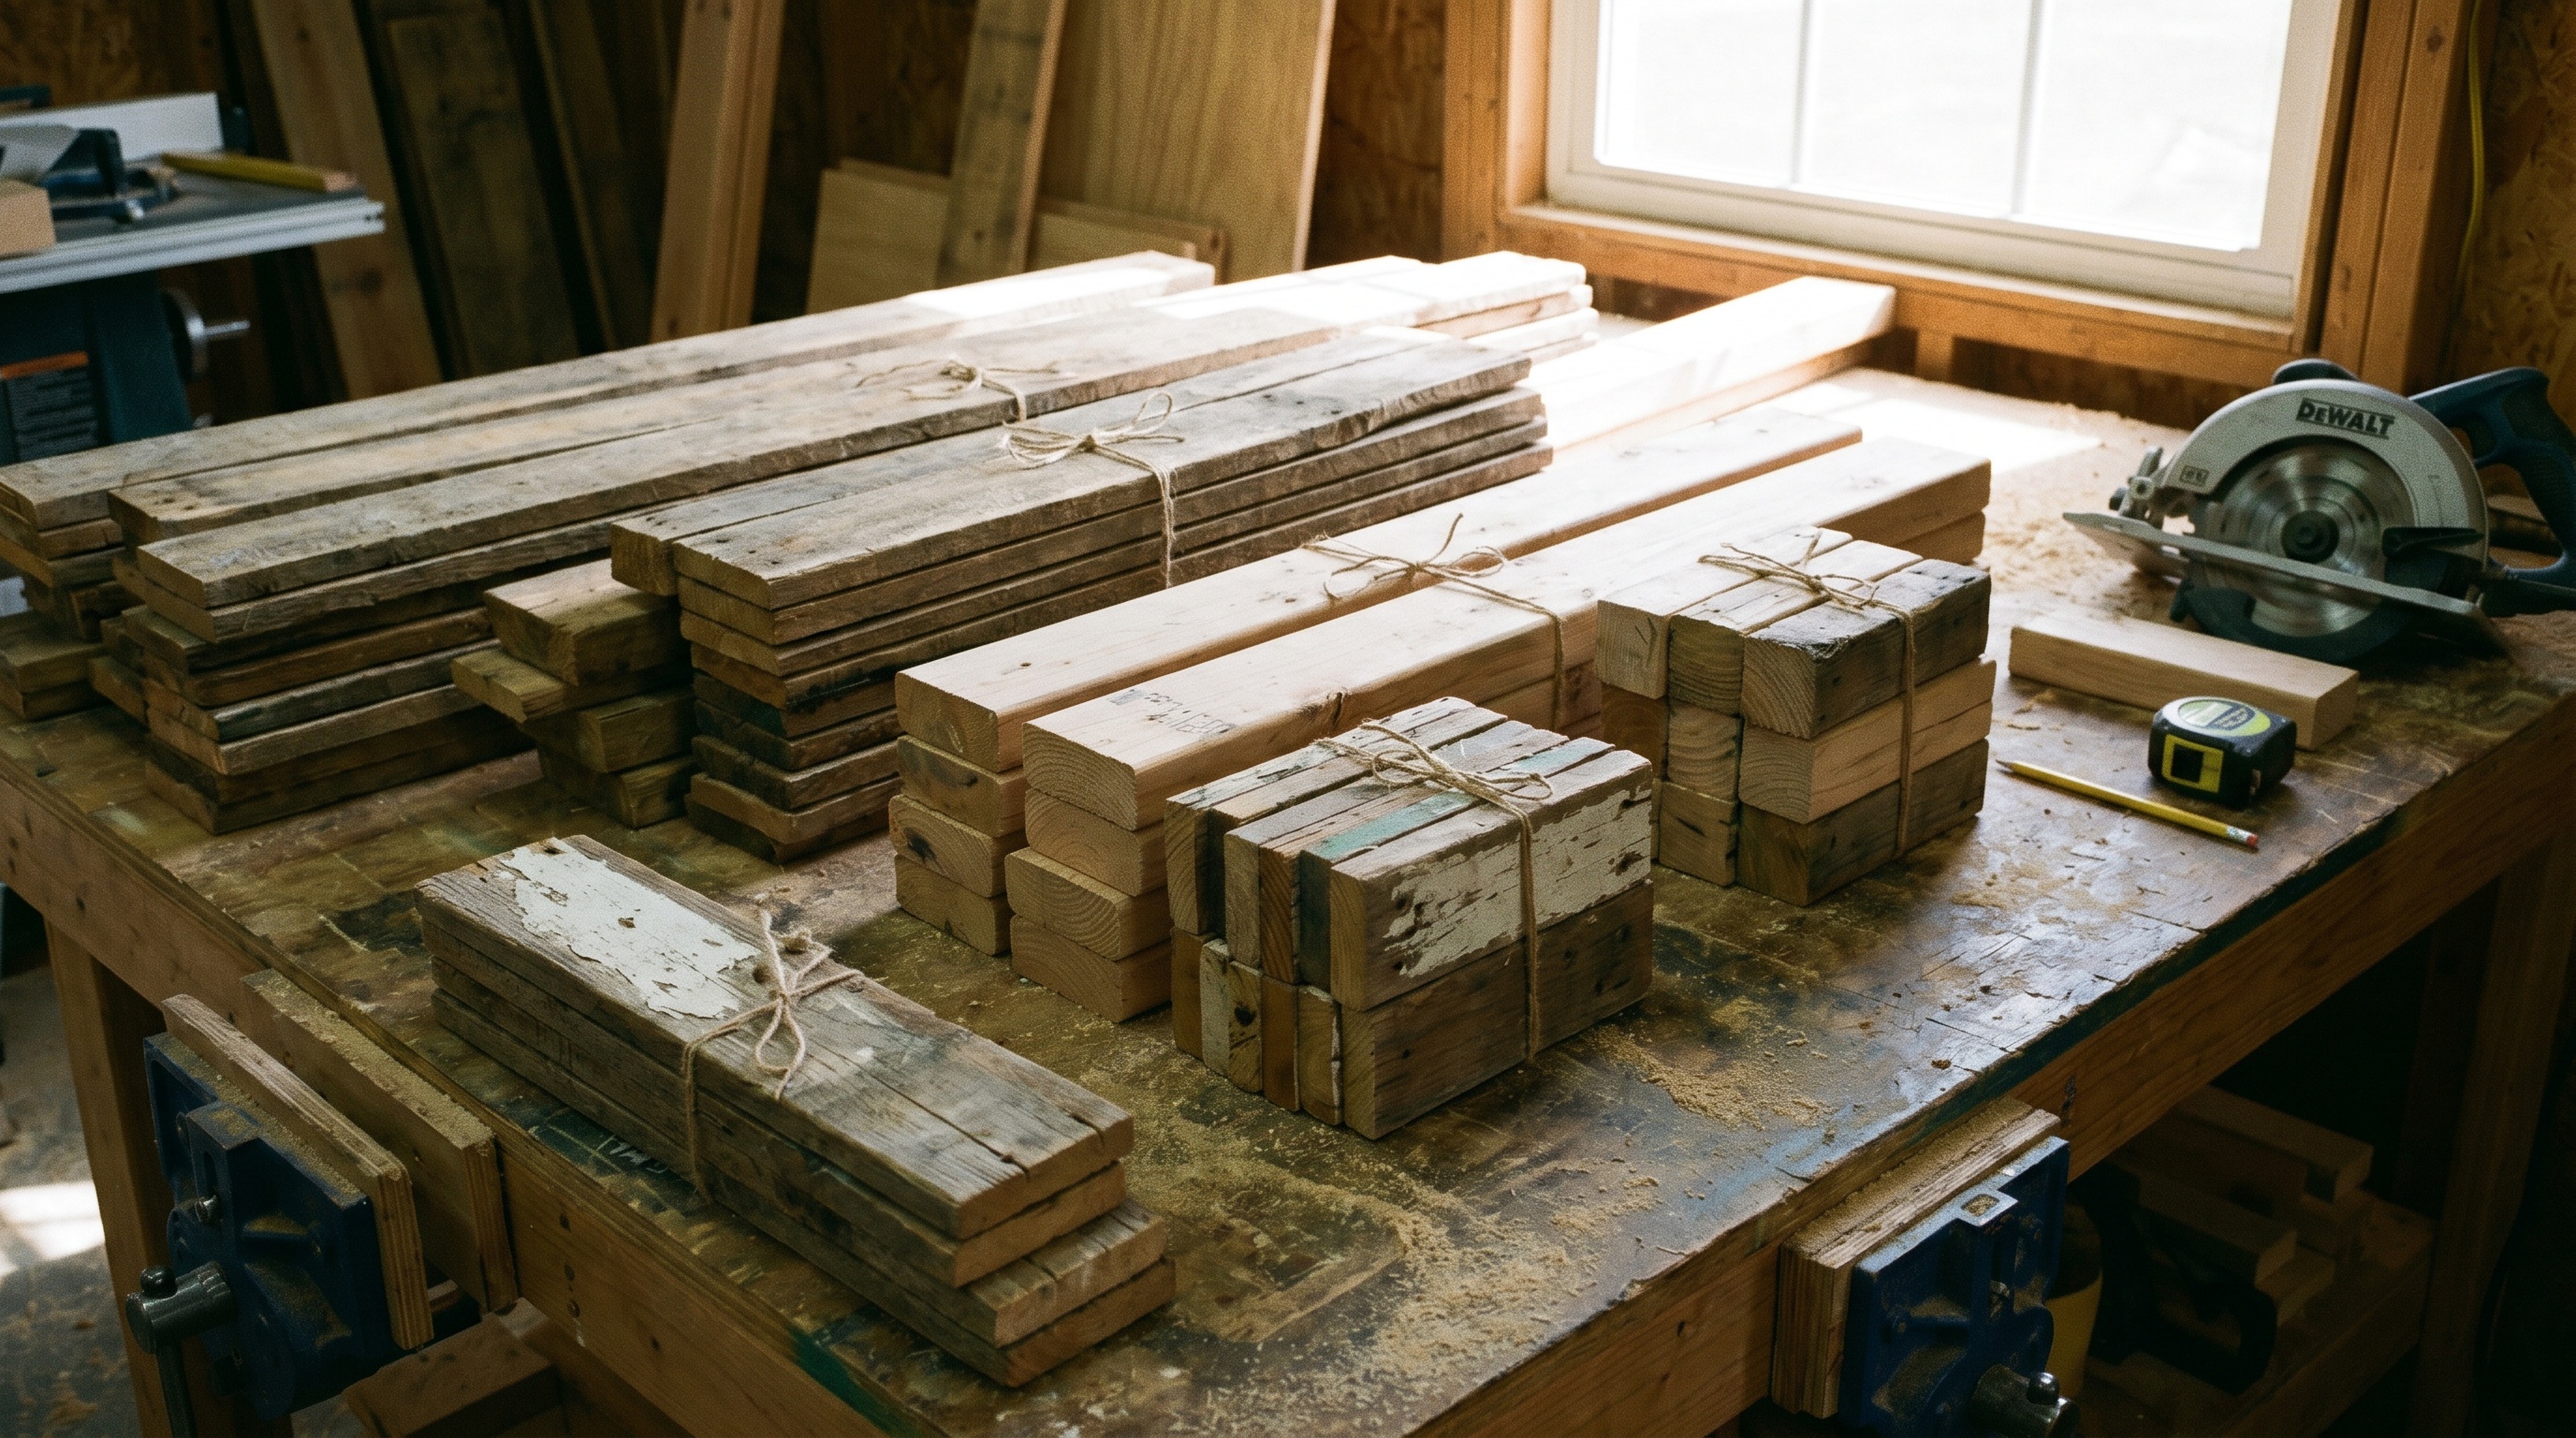
Before you start building, you’ll need to collect everything for this project. The good news is most of these materials are easy to find and budget-friendly, which is perfect for college students.
For materials, grab two 48” x 40” pallets (often free from local businesses), three 8-foot 1x2 boards, some 31-inch rope for handles, and basic hardware like brad nails and wood screws. You’ll also want safety gear including goggles and gloves, plus wood glue and sandpaper.
The tool list includes a hammer, wedge, nail gun (or regular hammer if that’s what you have), tape measure, drill, and either a hand saw or miter saw. If you don’t own these tools, check if your college has a maker space or workshop you can use. Many universities across North Carolina and beyond have excellent facilities for student projects like this. If you’re looking for more DIY garage storage ideas to fit your budget, you can apply similar techniques to other storage projects.
Budget hack: Many hardware stores will cut your lumber for free, which saves you time and ensures perfectly straight cuts for your crate.
Breaking down pallets and cutting your pieces
Start by disassembling your pallets carefully to avoid splitting the wood. Put on safety glasses and gloves, then place the pallet face-down on the ground. Use your hammer and wedge to slowly pry the slats from the frame, working methodically to preserve as much usable wood as possible.
Once you have your pallet boards free, cut them into the pieces you need. From the pallet wood, you’ll cut eight 30-inch pieces for the long sides, eight 15-inch pieces for the short ends, and eight 15⅛-inch pieces for the floor.
From your new 1x2 boards, cut two 29-inch pieces and two 12⅛-inch pieces for the base frame. You’ll also need four 15¼-inch pieces for the legs and additional frame pieces measuring 13⅝ inches and 26 inches.
Assembling the frame and attaching sides
Building the base frame comes first. Take your 29-inch and 12⅛-inch pieces to form a rectangle, positioning the shorter pieces between the ends of the longer ones. Secure each corner with two 2-inch brad nails, creating a solid foundation for your crate.
Next, attach the four leg pieces perpendicular to this base rectangle. These 15¼-inch pieces should have their widest part facing outward for maximum stability. Nail through each leg piece into the base frame using two brad nails per connection.
Complete the frame by adding the 13⅝-inch pieces to each end, connecting them to both the base and the leg pieces. This creates a sturdy skeleton that will support all the weight you put in your finished crate.
Now comes the fun part - attaching the pallet boards to create the actual sides. Lay your frame on its side and attach the 30-inch pallet boards using wood glue and 1-inch brad nails. Use the 15-inch boards as spacing guides to keep everything straight and evenly spaced.
Adding the floor and finishing touches
Flip your crate so the original base rectangle sits on the ground. This becomes the foundation for your floor boards. Take those eight 15⅛-inch pallet pieces and fit them inside the crate - you’ll need to notch the corners of the end pieces so they fit around the leg supports.
Apply wood glue to each floor board before nailing it down with 1-inch brad nails. Make sure to nail through each board into both the base frame and the side supports for maximum strength.
Pro tip: Sand your crate thoroughly before applying any finish - pallet wood can be rough, and a smooth surface makes staining or painting much easier and more professional-looking.
For the finish, you have several options. Since pallet wood can be tricky to stain evenly, painting often gives better results. Start with a white primer base, then apply your chosen color. If you prefer the natural wood look, use a clear sealant to protect against moisture and wear.
Don’t forget to add rope handles by drilling 1-inch holes about three inches from each end and threading through durable outdoor rope. Tie secure knots inside the crate to create comfortable carrying handles.

Building your own storage crate gives you exactly what you need for college life - affordable, customizable storage that can handle everything from move-in day chaos to organizing your dorm throughout the semester. This type of DIY solution works perfectly for personal items and smaller belongings that you want to keep accessible. Once you’ve mastered this project, you might want to explore tips, tricks, and ideas for organizing your garage or discover clever hidden bedroom storage ideas to maximize space in small living areas. If you’re preparing for a big decluttering session before or after the semester, consider learning about the best places for donating household items you no longer need. And if you’re interested in adopting a more streamlined approach to college life, check out our guide on how to live a minimalist lifestyle. For students who need comprehensive storage solutions during summer breaks or semester transitions - especially those attending school far from home - professional door-to-door storage services can handle the bigger items like furniture, appliances, and full wardrobe collections, while your custom wooden crate keeps personal essentials organized and accessible.
Frequently Asked Questions
How long does it take to build a DIY wooden crate from pallets?
Building a DIY wooden crate from pallets typically takes 4-6 hours for a complete beginner. This includes time for disassembling the pallets, cutting pieces to size, assembling the frame, attaching sides, and adding finishing touches. The project can be completed in one day, making it perfect for a weekend college project.
Can I use any type of pallet wood for making storage crates?
Not all pallets are safe for DIY projects. Look for pallets marked "HT" (heat treated) which are safe to use. Avoid pallets marked "MB" (methyl bromide treated) as they contain harmful chemicals. Also avoid pallets that have been used for chemicals, food, or show signs of staining or strong odors. Clean, dry pallets from retail stores or warehouses are your best bet.
What's the total cost to build a wooden crate for college storage?
Building a DIY wooden crate costs under $50 when using recycled pallets. The main expenses include three 8-foot 1x2 boards ($15-20), hardware like brad nails and screws ($10-15), rope for handles ($5), and finishing materials like sandpaper and paint or stain ($10-15). Free pallets from local businesses help keep costs minimal, making this an extremely budget-friendly college storage solution.
How much weight can a homemade pallet crate hold?
A properly built pallet crate with reinforced frame can typically hold 50-75 pounds when constructed following the guide's specifications. The weight capacity depends on the quality of your pallet wood, how well you reinforce the joints, and the condition of your hardware. For college storage needs like textbooks, clothes, and dorm supplies, this capacity is more than sufficient for most items you'll need to store or transport.
Set a reminder to sign up for storage!
We’ll remind you to sign up when it gets closer to your winter and summer break!
This article is part of our Dorm Storage & Organization guide
Want to hear from us about exclusive discounts and promotions?
Drop your email and we'll keep you up to date!
